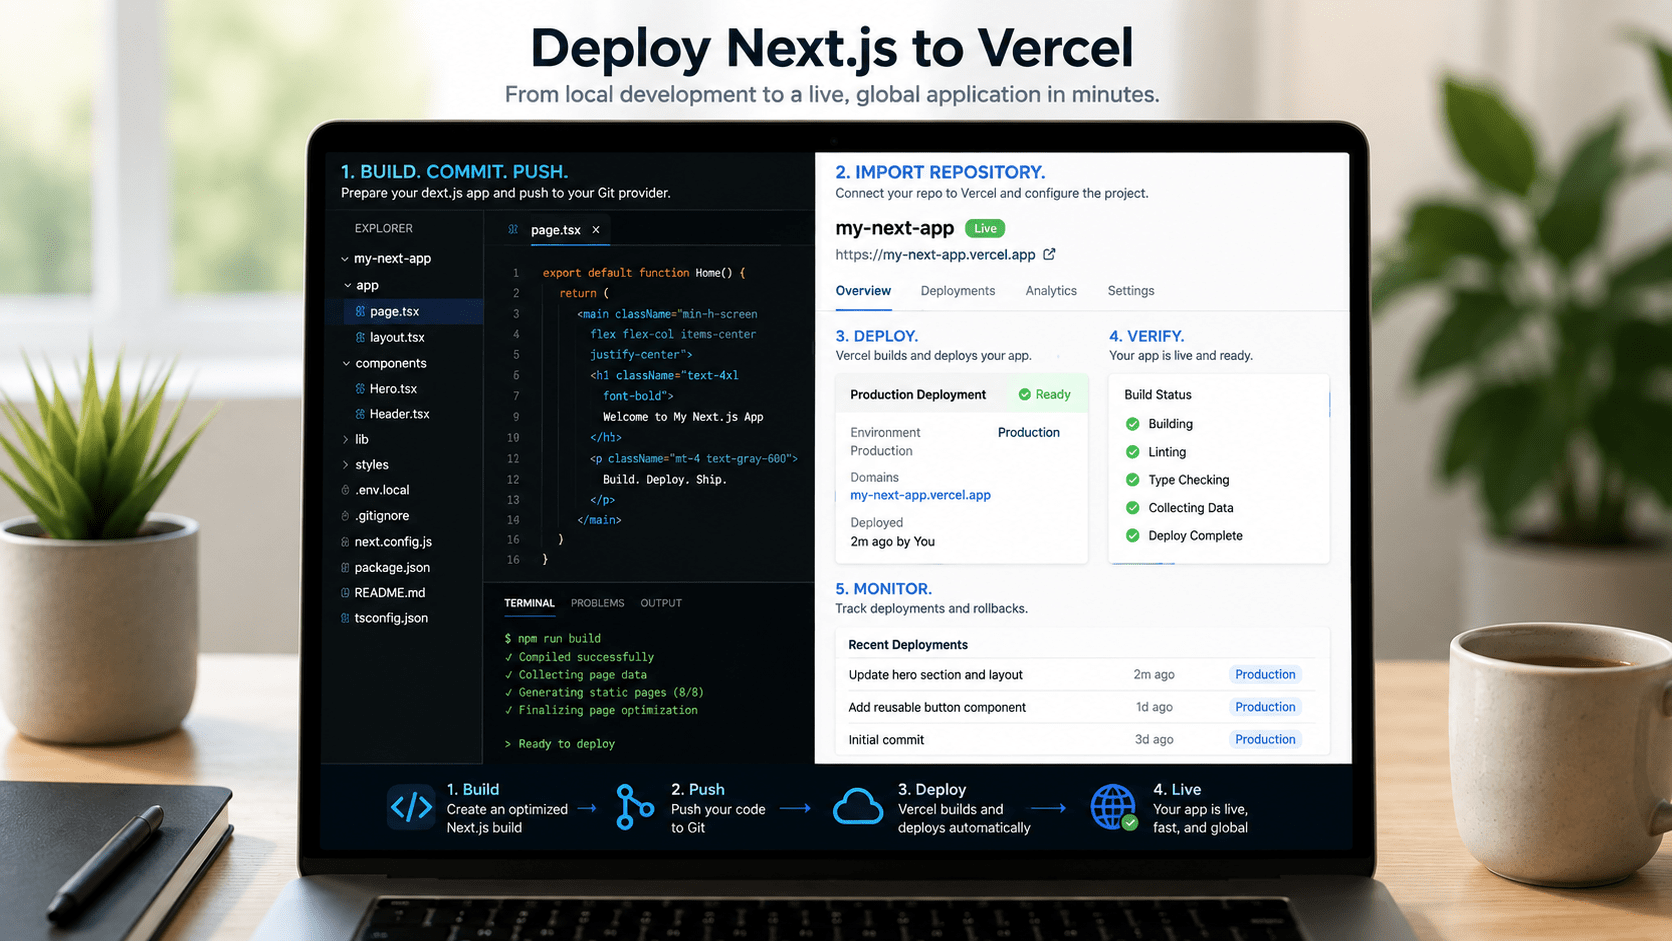

You deploy Next.js to Vercel as the final step after building your models, securing your routes, and streaming your loading states. Everything up to this point has lived on your laptop. This part is about making it live for real users.
Next.js was built by Vercel, so deploying a Next.js app to Vercel is about as smooth as production deployment gets. You get automatic CI/CD preview deployments, a global CDN, zero-config serverless functions, and simple environment variable management, all without touching a server config file.
This is the final post in our 19-part Next.js series, and we are going to walk through the full process, from your last local build check to your first live OAuth callback.
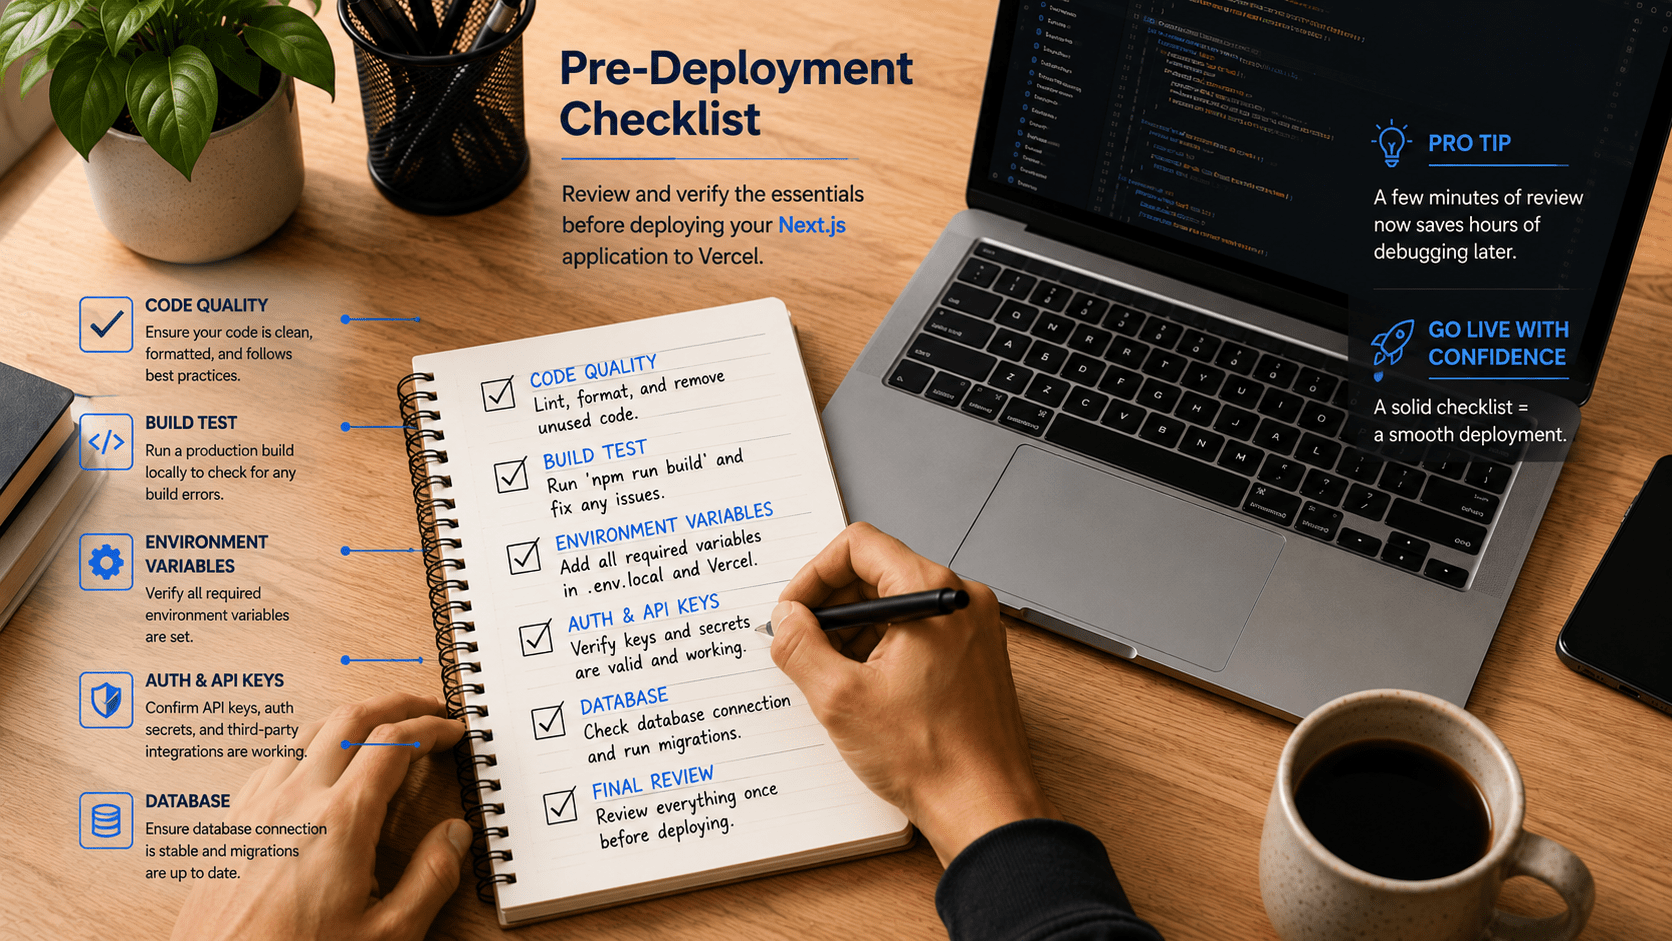
Pre-Deployment Checklist
Before you push anything to production, run through this audit. Skipping it is the fastest way to turn a five-minute deploy into a two-hour debugging session.
Pre-Deployment Audit Checklist
Run through this verification checklist before pushing your web app to production. Covers build tests, secrets, database migrations, and repository hygiene.
| Audit Item | Verification Action |
|---|---|
| Build Test | Run npm run build locally to catch TypeScript or syntax errors before pushing |
| Environment Variables | List secret keys (database URLs, OAuth credentials) in .env.example, never hardcoded in code |
| Database Migrations | Apply your Prisma migrations to your hosted database (Neon, Supabase, or Railway) |
| Git Repository | Push all local changes to GitHub, GitLab, or Bitbucket |
A clean local build is non-negotiable. If npm run build fails on your machine, it will fail on Vercel too – catch it now, not mid-deploy.
How to Deploy Next.js to Vercel: Step-by-Step
Here is the exact sequence, from importing your repo to your first live URL.
Step 1: Connect Your Git Repository to Vercel
Log into your Vercel account, click Add New → Project, and select your GitHub repository from the import list. Vercel needs read access to your repo to set up automatic deployments on every push.
Step 2: Configure Project Settings
Vercel automatically detects Next.js and sets the correct build command. Leave the framework preset as Next.js. If your app lives inside a monorepo, set the root directory so Vercel knows where to find your package.json.
Step 3: Configure Environment Variables
Expand the Environment Variables panel and add your production credentials:
- DATABASE_URL – your production PostgreSQL connection string
- AUTH_SECRET – a secure random secret generated with
openssl rand -base64 32 - GITHUB_CLIENT_ID and GITHUB_CLIENT_SECRET – your production OAuth application credentials
Double-check these against your .env.example file. A missing environment variable is the single most common reason a fresh deploy builds fine but crashes on first request.
Step 4: Deploy Next.js to Vercel and Verify
Click Deploy. Vercel clones your repository, runs npm run build, assigns a production URL (something like devpulse.vercel.app), and pushes your site live on their global edge network. Open the URL and click through your core flows sign-in, a protected route, a data mutation before you tell anyone it’s live.

Post-Deployment: Custom Domains and OAuth Callbacks
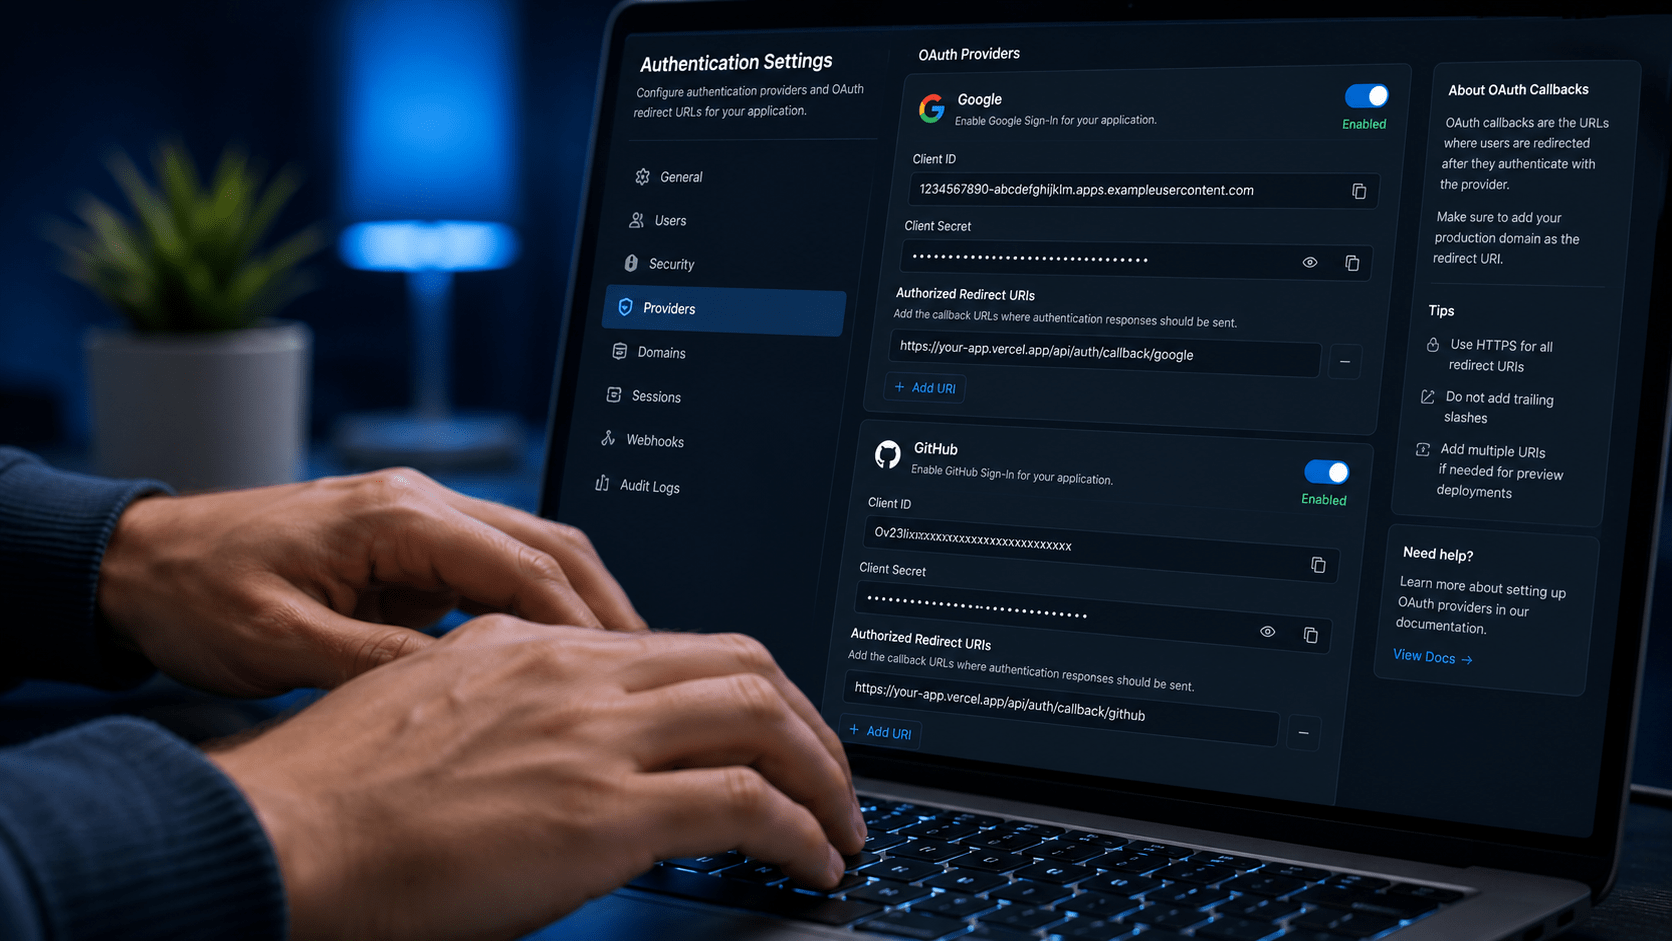
Once your app is live, your OAuth provider still thinks you’re running on localhost. Update it:
- Copy your new Vercel deployment URL (for example,
https://devpulse.vercel.app). - Go to your GitHub Developer Settings.
- Update the Authorization Callback URL to
https://devpulse.vercel.app/api/auth/callback/github. - Set
AUTH_URL(orNEXTAUTH_URL) in your Vercel project settings to match your production domain.
Miss this step and sign-in will work locally but fail silently in production a classic first-deploy bug.
If you’re using more than one OAuth provider (GitHub and Google, for example), repeat this callback update for each one. Every provider’s developer console has its own separate callback URL field, and it’s easy to update one and forget the other. Check your Vercel deployment logs first if a sign-in flow breaks after launch most auth failures show a clear error about a mismatched redirect URI rather than failing silently, which makes them faster to diagnose than they look at first.
Series Wrap-Up: What You’ve Mastered
Congratulations over the course of this 19-part series, you went from fundamental React concepts to a deployed, full-stack Next.js application:
- Core React principles: JSX, props, state, and hooks
- Component communication and performance optimization
- The Next.js App Router paradigm: Server vs. Client Components
- Async data fetching, streaming Suspense UI, and error boundaries
- Data mutations with Server Actions and
useActionState - Security with Auth.js and Edge Middleware
- Production architecture and deployment on Vercel
Also Read: New to the series or want a refresher on how these pieces fit together? Start with our post on Next.js Project Architecture to see the full picture before you build your next app.
You now have what you need to build and scale real Next.js applications. Start your next project with one deploy the rest of the stack you already know.
FAQ
Do I need a credit card to get started?
No. Vercel’s free Hobby tier covers most personal projects and lets you go live without adding billing details.
Can I use a custom domain instead of the vercel.app subdomain?
Yes. Add your domain under Project Settings → Domains, then update your DNS records as Vercel instructs.
Why did my build succeed but the site crashes on load?
This is almost always a missing or mistyped environment variable. Recheck every value against your .env.example file.
Do database migrations run automatically on deploy?
No. Prisma migrations need to be applied to your hosted database separately, either manually or as a build step you configure yourself.